
I knew from quite early on that I wanted my ‘natural history’ diorama for the peptide/membrane project to feature several globe forms which inspired by the vesicles / cell membranes under the influence of the peptide. (The peptide itself would be invisible – only detectable in its effects).
The vesicles were not intended to be a scientific representation, but more something between an evocation and an abstract sculpture. Having said that, there were a number of concepts that I had found really interesting from the time I spent in the lab that I wanted to inform the development of the vesicle elements, so I set about playing with ideas and techniques that would take on those ideas.
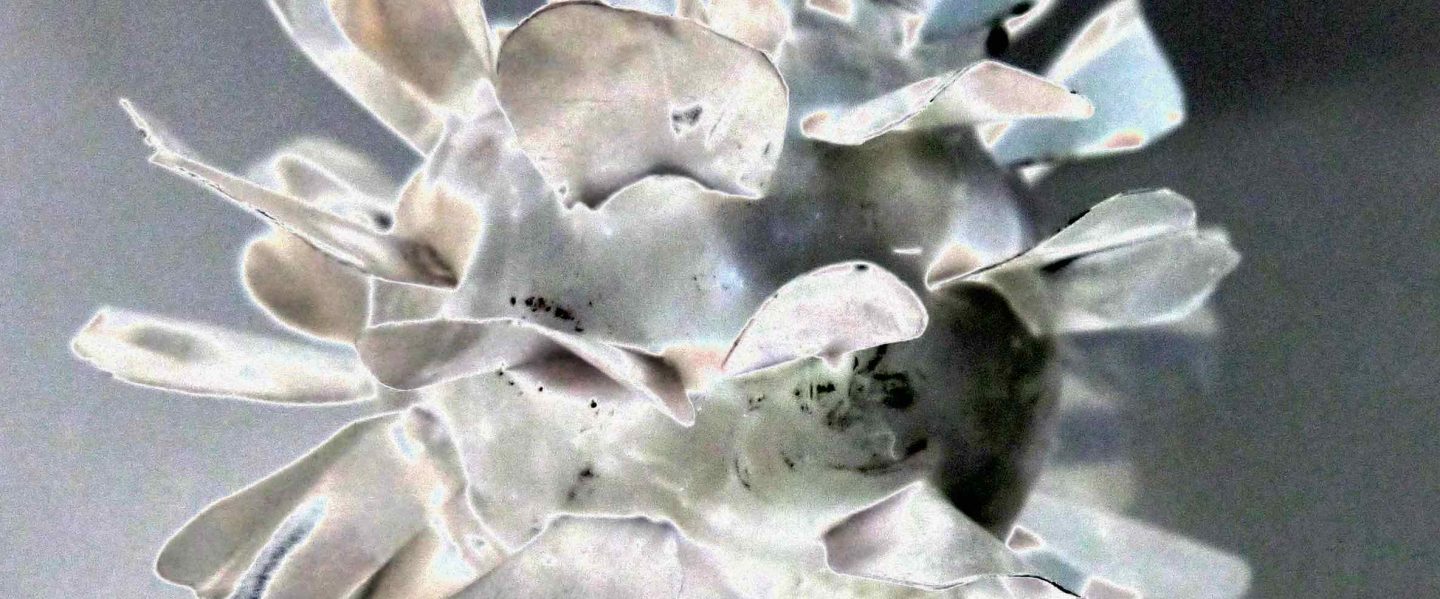
Creating Surface: While I was in meetings and labs with the team, I kept hearing about phase separation. In fact, to begin with i wasn’t sure if i was hearing about ‘phase separation’ or ‘face separation’, but that was soon cleared up! During my time in the labs i looked at images and heard more about this phenomenon in cell membranes and was fascinated by the confocal microscope images that illustrated it.

I started to play with frit balls as a way of creating different surface effects within pate de verre. Frit balls are small granules of glass which are heated in the kiln to contract into little balls. I started to incorporate different sizes of frit balls into pate de verre samples in different ways – mixed in or adhering to the surface in groups. It was fun and I got some effects i really liked.


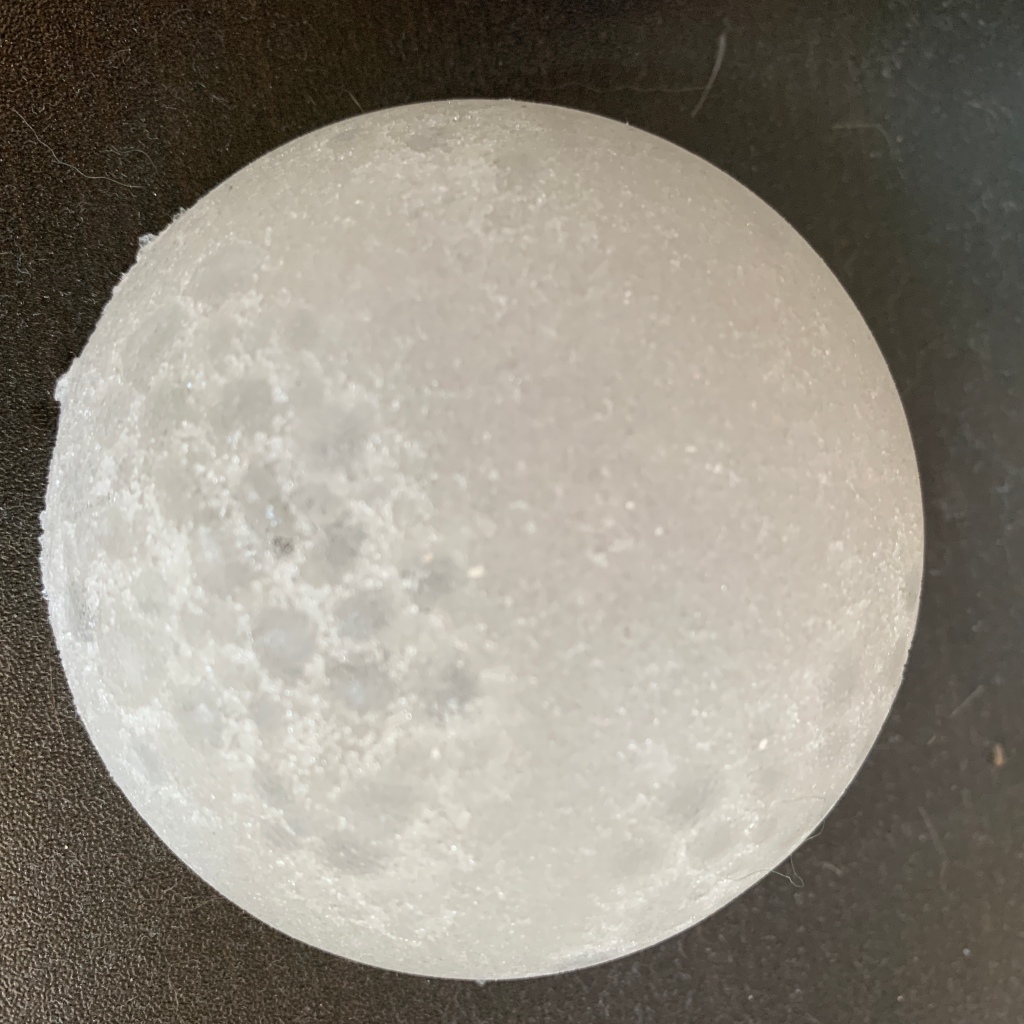


Once I had settled on some textures i liked, i started making vesicles. Initially I used rough textured spheres around which to make moulds, but I then moved onto using wax spheres that were smoother and easier to work with.

Sculptamould model 
Mould around wax model 
Partially filled mould 
Filled mould in kiln 
Demoulding a vesicle
Colours: The first vesicle I made, i mixed up my colours and ended up with a vesicle with big pink patches which i hated. The plan had been for a much more subtle transition from white to a pale fleshtone, not only to evoke the biological but also in keeping with the overall palette that i’d talked to the Leeds team about, having seen the space and the way colours worked in the CRF area. This first patchy vesicle made a good test piece to try out the effects I wanted to develop using perforation, poration and metal mesh.


Through further experimentation and refining my process I finally got the three colours and textures of vesicles that I wanted.

Drilling: I decided to make the perforations in the vesicles by drilling into the globes rather than making the holes through the mouldmaking. Several reasons for this, including the likely strength of the ultimate vesicles and also the accuracy of the holes. I did, however, for the darkest vesicle, identify where i wanted the perforations to fall and created bulges around them as part of the model and mouldmaking process. Luckily the drilling went well and there were no breakages at that stage, which would have been heart-breaking as well as vesicle-breaking, as by this point, each vesicle represents many hours of work. Now they have been drilled, the white vesicle has no pores, the pale flesh vesicle has small pores, and the larger darker vesicle has extensive perforations.
So that, in a nutshell, was the development of the vesicle elements of the pieces. There’ll be more vesicle chat when I get to posting about the process of making the mesh elements that emerge through the perforations to create the overall effect of leakage, inspired by the action of the peptide…
